These days almost every company store data such as users, emails, roles, printers, etc. in what it is call a Directory Service, providing a centralized access to company-related data that can be use across all its systems. One of the most widely used solution is Active Directory from Microsoft, since its tightly integrated with Windows OS systems. The other one LDAP, which stands for Lightweight Directory Access Protocol, has a broad range of users too since the de facto standard in Linux-based systems. We usually want to integrate LDAP with SAP BusinessObjects in order to let the users authenticate against the BI platform, using the same password that they use to login in other systems across the company. To do so, SAP BO provides an LDAP authentication module in the CMC with an easy-to-follow wizard that facilitates all the necessary steps, which follows:
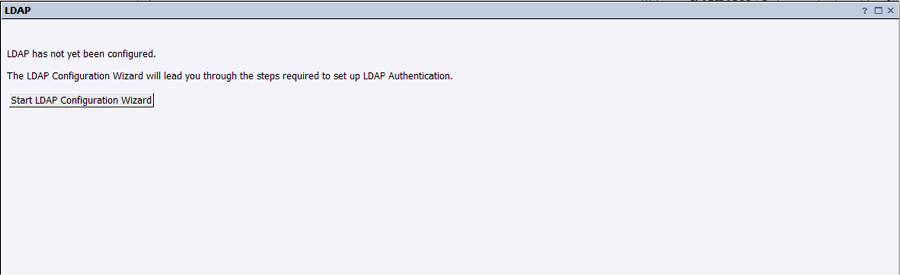
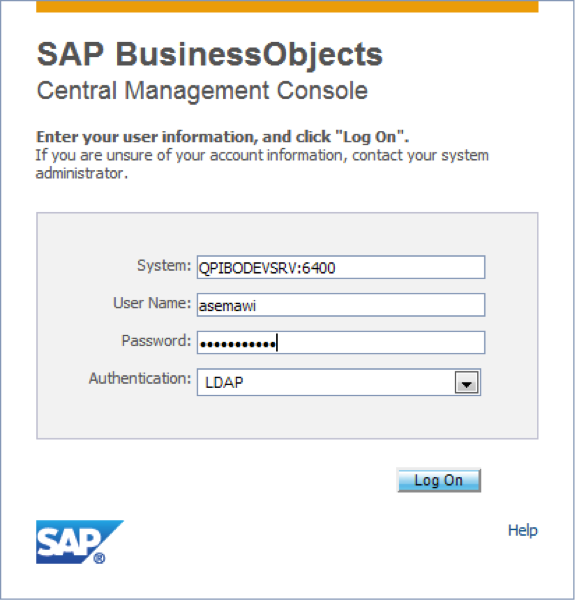
1. Login to CMC (localhost:8080/BOE/CMC) as an administrator and go to “Manage” -> “Authentication” section. Select “LDAP” and proceed to execute the wizard by clicking on “Start LDAP Configuration Wizard” 2. Enter the address of the LDAP servers and press “add”:
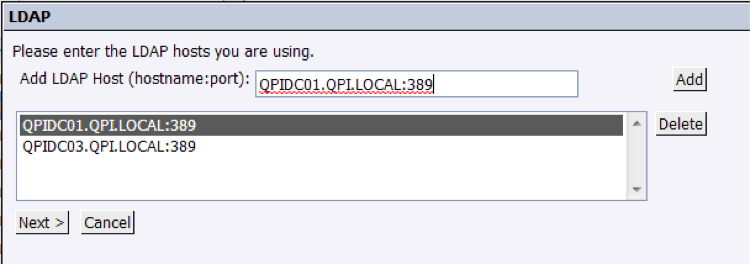
This information should be provided by a network administrator, since it depends on the company and their network deployment.
In the next step, we will select the technological solution that implements LDAP (LDAP is, as stated in its name, just a protocol). This is relevant because depending on the implementation, some frequent information like username might be mapped in a different node than other ones. As stated in screenshot below, it can be fully customized, so that we adapt LDAP’s mapping to our BO users configuration:
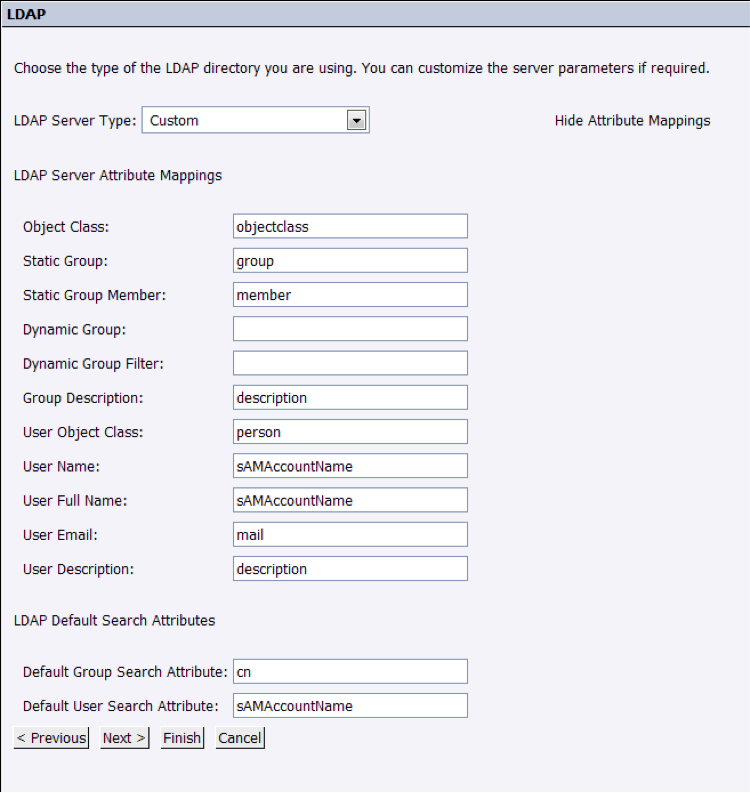
In the textboxes we have to input the nodes that are actually being used in LDAP, or choose the ones available by default.
3. In this step we will set the Distinguished Name of the branch from which all the users are pending:

This information should be provided by the network administrator.
4. In next screen we will set up accounts with read access to LDAP servers. They do not have to have Administrator rights:

Do make sure that the username is a Distinguished Name one, using LDAP notation, not just a plain simple username.
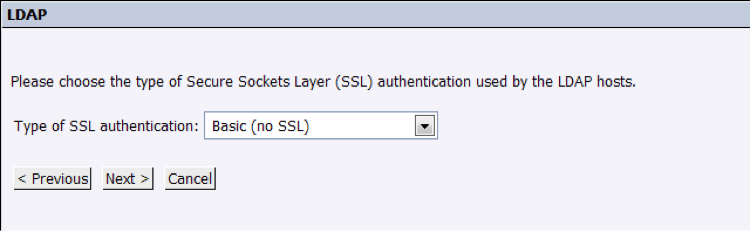
5. We will configure the security access to the LDAP server by selecting “Basic (no SSL)”, but it may change depending on the network configuration:
6. Same for this step, it may change depending on the customer, but usually selecting “Basic (No SSO)” should be fine. These settings can also be changed in the future, so proceed to the last screen:

7. In the last screen, we will leave the configurations as follow:

Options above may vary per customer and they are self-explanatory.
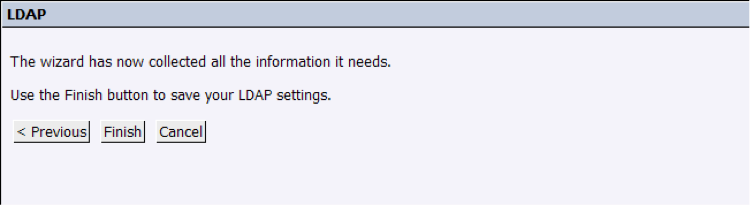
8. Finally, we will commit the changes by pressing “Finish”:
9. In the summary screen, we can review all the previous settings and configure the final steps:
- Scheduling of the synchronization of accounts between SAP BO and LDAP. We will set it to be updated hourly, since it is a less than a second query with very low overhead.
- Group of users that we will import. What we have to do is to choose the LDAP branch that we will be importing. It has to be a distinguished name: “CN=XXX,OU=YYY-Email-Groups,DC=ZZZ,DC=local”. This would mean that all members under this group will have access to SAP BO through LDAP.
Find below how the final configuration should look:
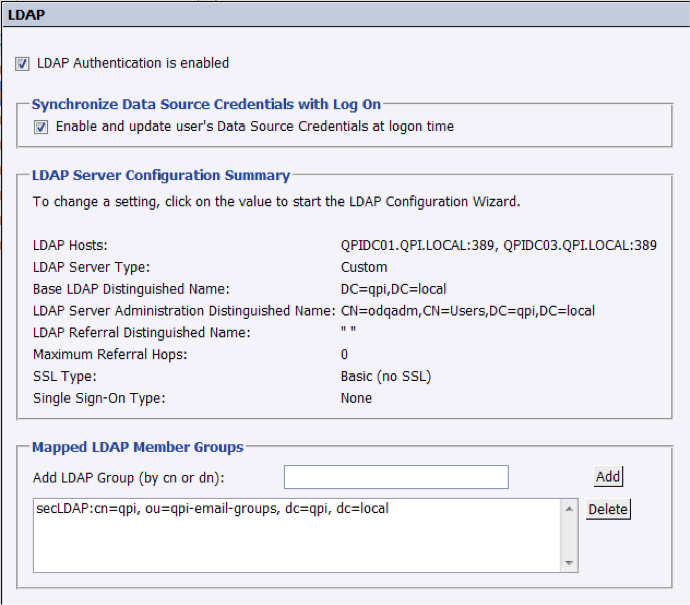

This summary screen allows you to go back and revert any setting that we might not be comfortable with.
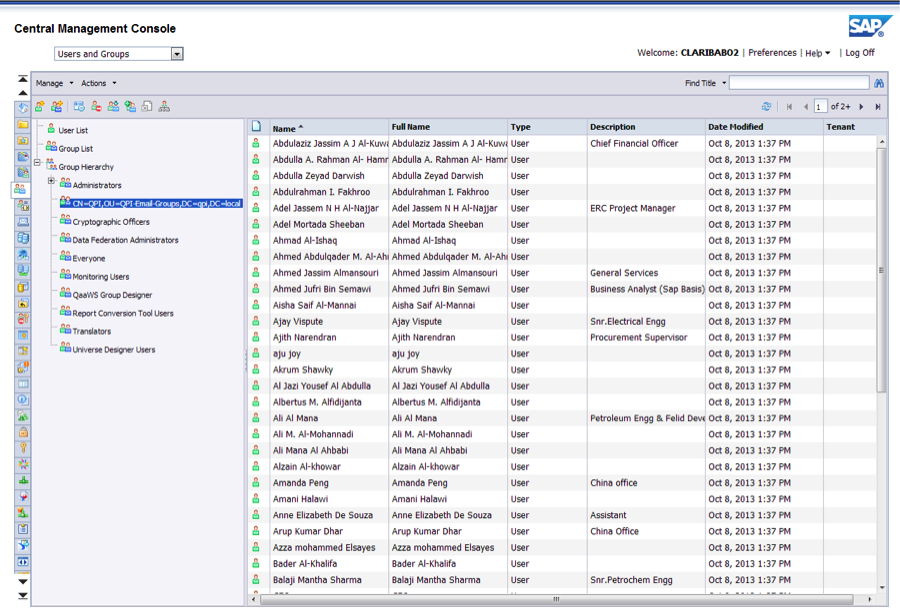
10. After doing the initial import, a group containing all new imported users will appear. To see it, go back to the home screen of the CMC and go to the “Users and Groups” section, under “Organize”:
To avoid losing in every synchronization the security parameters of the group, we will encapsulate this group in a newly created one named “Enterprise” (you can pick any name). In this group we will implement the actual security of the LDAP users:

After this, we will include the LDAP group within the newly created “Enterprise” group:
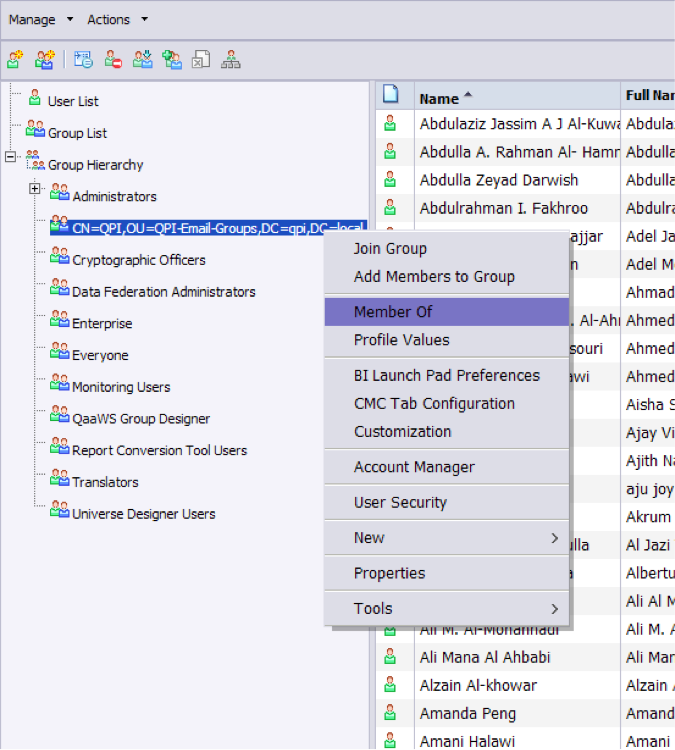

This is the final output:

The way to test that everything went alright is to login with the LDAP authentication method and check if it access is granted:
While it may seem like a long process to do, it doesn’t really take that much time and the perceived advantage for the final user is great, so I encourage everyone to implement it in every company that implements LDAP.
Please, do not hesitate to write in the comments section should you have any question.